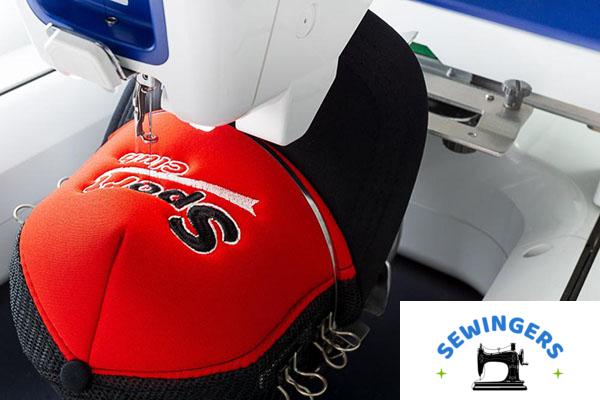
Embroidery has this way of turning a plain cap into something that feels entirely yours. It’s one of those crafts that looks complicated from the outside but becomes oddly satisfying once you understand what’s actually going on. Machine embroidery, in particular, makes the whole thing a lot more manageable — you’re not threading tiny needles by hand or squinting at fabric for hours. You get precision, speed, and — honestly — a lot more room to experiment.

Contents
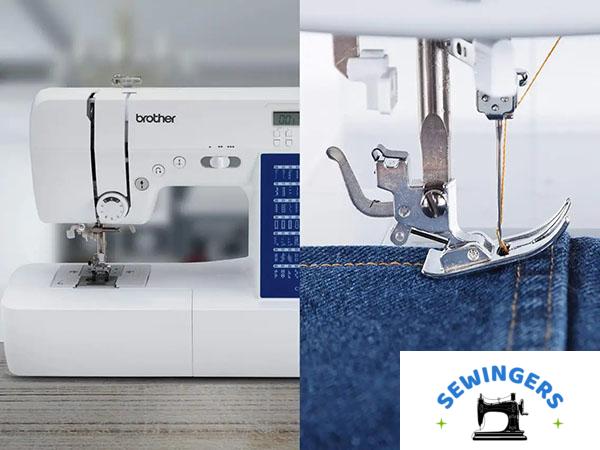
Choose the Best Embroidery Machine
Here’s where most beginners get stuck — they assume any embroidery machine will do the job. In practice, the machine you pick shapes everything downstream. Embroidery speed matters, but so does hoop compatibility, needle configuration, and how the machine handles dense stitch counts. A design that looks sharp on one machine can look muddy on another.
What tends to work for most people is finding a machine that fits their actual workload — not the most ambitious project they’re imagining, but the kind of caps they’ll realistically be embroidering week to week. Budget matters too, and there’s no shame in starting mid-range and upgrading later once you know what you actually need.
Seek Out the Ideal Free-Arm Configuration
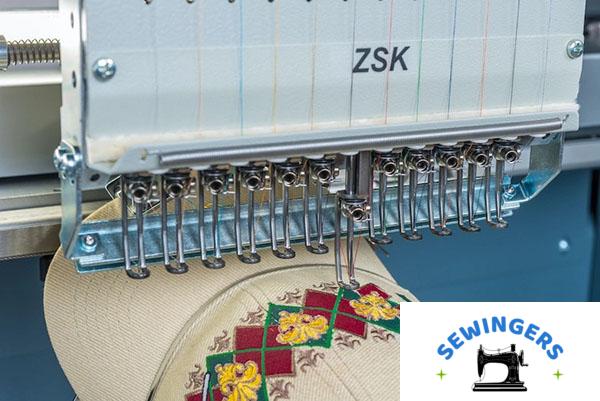
Caps are curved. That sounds obvious, but it’s the thing that trips people up most when they’re new to cap embroidery. A flat hoop on a curved surface creates tension problems — fabric bunches, stitches pull unevenly, and the result looks nothing like the preview.
A free-arm configuration solves this. The cylindrical arm lets the cap wrap around it naturally, which keeps the fabric stable while the needle works. If a machine you’re considering doesn’t have this feature, it’s worth looking at other models before committing — especially if caps are going to be a regular part of your work.
Select the Right Hoop Size
Hooping might be the most underrated step in the whole process. Get it wrong and nothing else you do will fix it. The hoop needs to match the cap’s dimensions — too large and you lose control of the fabric, too small and you’re fighting the material the whole time.
What hooping actually does is keep things locked in place while you stitch. It prevents the fabric from shifting mid-design, which is the kind of thing that only becomes obvious once it’s already ruined a piece. Take your time with this step. It’s not glamorous, but it’s where a lot of the final quality gets decided.
Choose the Right Embroidery Machine Software
The software side of cap embroidery doesn’t get talked about enough. Most people focus on the machine itself, but the software is where your designs actually come together — and a clunky program will slow you down more than a mid-tier machine ever would.
One option worth trying is Artista. It comes loaded with stitch patterns and cap-specific designs, which means you’re not starting from zero every time. The interface is approachable enough that you don’t need a background in design software to use it — most people can get a workable design going within their first session. Whether you’re adjusting an existing pattern or building something from scratch, it tends to stay out of your way and let you focus on the creative side.
Additional Tips for Cap Embroidery
A few things that tend to catch people off guard: glue sticks might seem like a convenient way to hold fabric in place, but they can stain and break down the material over time. A cap-specific embroidery stabilizer is a much better call — it handles distortion, puckering, and the kind of mid-stitch shifting that causes jams. If you’re using adhesive tape, double-check that it’s compatible with your machine before you commit to it.
Hoop the cap with the stabilizer positioned on the back side. Stitch length adjustments depend on your hoop — larger hoops usually work fine with default settings, while smaller ones sometimes need a bit of tweaking. Test your design on scrap material before running it on an actual cap. It takes an extra few minutes and saves a lot of frustration.
Once you’re done stitching, use a soft bristle brush to clear away any leftover stabilizer or adhesive residue. It’s a small step, but it’s what gives the finished piece that clean, professional look.
Enhancing Your Embroidery Skills: Proven Techniques for Success
A few things that genuinely make a difference over time:
- Match your stabilizer to the fabric — different materials behave differently under tension, and the wrong stabilizer shows up immediately in the finished stitch.
- Thread quality matters more than people expect. Cheaper threads tend to fade faster and break mid-run, which interrupts your flow more than it seems like it should.
- Tension settings are worth dialing in carefully — uneven tension produces stitches that look fine on screen and messy in person.
- Clean your machine regularly. Lint and thread debris build up quietly and start affecting performance before you notice anything obvious.
- Hooping technique takes practice. The goal is fabric that’s taut but not distorted — there’s a feel to it that develops over time.
- Always test on scrap fabric first, especially with new designs or unfamiliar materials.
- Mark your placement centers carefully — small alignment errors compound across a design.
- Change needles more often than feels necessary. Dull needles cause thread breaks and snags that are easy to blame on other things.
- Find a stitching speed that feels comfortable for you — rushing through dense designs rarely ends well.
- Follow bobbin winding instructions closely. It’s one of those steps that seems minor until it causes a jam mid-design.
- Complex designs take longer than you think they will. That’s not a flaw — it’s just how they work.
- Different fabrics have different quirks. Stretch materials, for instance, need more stabilizer support than woven ones.
- Explore your software’s rotation and resizing tools — they’re more useful than most people realize once you start customizing placements.
- Trim excess threads after each color change. It keeps the back clean and prevents tangling later.
- A tidy workspace makes it easier to focus — not a groundbreaking insight, but genuinely true.
Conclusion
Cap embroidery isn’t complicated once you understand what each step is actually doing. The machine handles the repetition, but the decisions — hoop size, stabilizer choice, thread quality, software setup — are yours to make, and they’re what determine whether the finished piece looks intentional or accidental.
Consistent stitching is something that develops with practice, not something you can shortcut. Avoid letting threads pile up in transition zones between color changes — that’s where most of the messiness originates. Get those fundamentals right, and the creative side of cap embroidery starts to open up in ways that are worth the learning curve.
- Related post: Are Baby Lock Sewing or Quilting Machines worth buying?